

Maximize Your Trail Camera Success with These Proven Placement Tips
- 4 days ago
- 3 min read
Trail cameras are powerful tools for wildlife observation, hunting, and land management. Yet, many users struggle to capture clear, useful images because they place their cameras in the wrong spots. The key to success lies in strategic placement that matches animal behavior and environmental conditions. This post shares practical tips that can help you get the most out of your trail camera.

Understand Animal Movement Patterns
Animals follow predictable routes based on food, water, shelter, and safety. To capture their activity, place your camera where these paths converge or where animals naturally pause.
Look for game trails: These are narrow paths animals use repeatedly. Position your camera to face the trail, ideally at a slight angle to capture side profiles.
Near water sources: Streams, ponds, or watering holes attract wildlife, especially during dry seasons.
Feeding areas: Fruit trees, clearings with fresh vegetation, or bait stations can be hotspots.
Natural funnels: Narrow corridors between dense vegetation or fences force animals to pass through a limited space.
By focusing on these areas, you increase the chance of capturing clear images of animals in motion.
Choose the Right Height and Angle
Camera height and angle affect the quality and usefulness of your photos.
Height: Mount your camera about 2.5 to 3 feet off the ground for most medium to large animals like deer. For smaller animals, lower the camera to about 1 to 2 feet.
Angle: Avoid pointing the camera straight down or directly across the trail. Instead, aim it slightly downward at a 15-30 degree angle to capture the animal’s body clearly.
Avoid direct sunlight: Position the camera so the sun is behind it to prevent glare and washed-out images.
Proper height and angle help capture identifiable features and reduce false triggers from moving vegetation.
Minimize Disturbance and Scent
Wildlife is sensitive to human scent and disturbances. To avoid spooking animals:
Wear gloves when handling the camera.
Avoid touching the lens or sensor.
Use scent-eliminating sprays on your hands and gear.
Approach the site quietly and minimize time spent setting up.
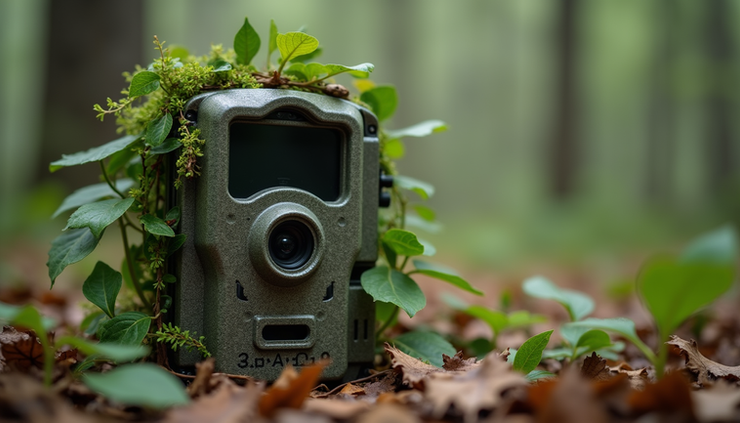
Use natural materials like leaves or branches to camouflage the camera without blocking the lens.
Reducing human scent and disturbance increases the likelihood animals will behave naturally in front of the camera.
Test and Adjust Your Setup
Once your camera is in place, test it to ensure it triggers correctly and captures clear images.
Walk in front of the camera to check the detection zone.
Review test photos for focus, lighting, and angle.
Adjust the camera position if images are blurry or the detection zone is too narrow or wide.
Check battery life and memory card space regularly to avoid missing important moments.
Regular testing and adjustment help maintain consistent performance throughout your monitoring period.
Use Multiple Cameras for Better Coverage
If your budget allows, use several cameras to cover different angles or locations. This approach helps:
Capture more animal activity.
Identify individual animals by comparing images.
Monitor different species that prefer various habitats.
For example, place one camera near a water source and another along a feeding trail. This strategy provides a fuller picture of wildlife behavior on your property.
Consider Seasonal Changes for Trail Camera Success
Animal movement and behavior change with seasons. Adjust your camera placement accordingly.
In spring and summer, animals may stay near water and shaded areas.
In fall, focus on feeding grounds where animals bulk up for winter.
In winter, look for sheltered areas or salt licks.
Moving your camera to match seasonal patterns keeps your monitoring relevant and productive.
Protect Your Camera from Weather and Theft
Trail camera success is about facing harsh outdoor conditions and managing risk theft.
Use weatherproof models or protective cases.
Mount cameras securely with locks or cables.
Place cameras out of easy reach but still accessible for maintenance.
Use camouflage to blend the camera into the environment.
Taking these precautions ensures your equipment lasts longer and continues to deliver valuable data.
By understanding animal habits, carefully selecting camera height and angle, minimizing human scent, and regularly testing your setup, you can significantly improve your trail camera results. Using multiple cameras and adapting to seasonal changes further enhances your chances of capturing great wildlife images. Protect your investment with proper security and weatherproofing.
Start by scouting your land for animal trails and water sources. Set your camera at the right height and angle, then check your photos after a few days. Adjust as needed and enjoy watching wildlife in their natural habitat with clear, detailed images.


Comments